
Asterisk 20 brings new features and longer support. Combining it with Real-Time configuration using MariaDB makes your VoIP setup dynamic, no more reloads for small changes. In this guide, you'll install Asterisk 20 from source on Debian 12 and configure it to use a database backend for PJSIP, voicemail, and queues.
Prerequisites
A clean Debian 12 server with Internet access (VM or bare metal)
Root or sudo access
Basic Linux and SQL knowledge
1. System Preparation
Update the system and install dependencies:
apt update && apt upgrade -y
apt install -y build-essential git curl wget subversion libjansson-dev uuid-dev libxml2-dev libncurses5-dev libssl-dev libedit-dev default-libmysqlclient-dev libsqlite3-dev unixodbc-dev odbcinst mariadb-server libodbc2 odbc-mariadb
⚠️ Warning: Missing dependencies often cause build failures. Double-check installed packages!
Create a user for running Asterisk:
groupadd asterisk
useradd -r -d /var/lib/asterisk -g asterisk asterisk
2. Download and Compile Asterisk 20
Get the source code:
cd /usr/src
wget http://downloads.asterisk.org/pub/telephony/asterisk/asterisk-20-current.tar.gz
tar -zxvf asterisk-20-current.tar.gz
cd asterisk-20*
Prepare build & choose modules:
./contrib/scripts/get_mp3_source.sh
contrib/scripts/install_prereq install
./configure --with-jansson-bundled --with-pjproject-bundled
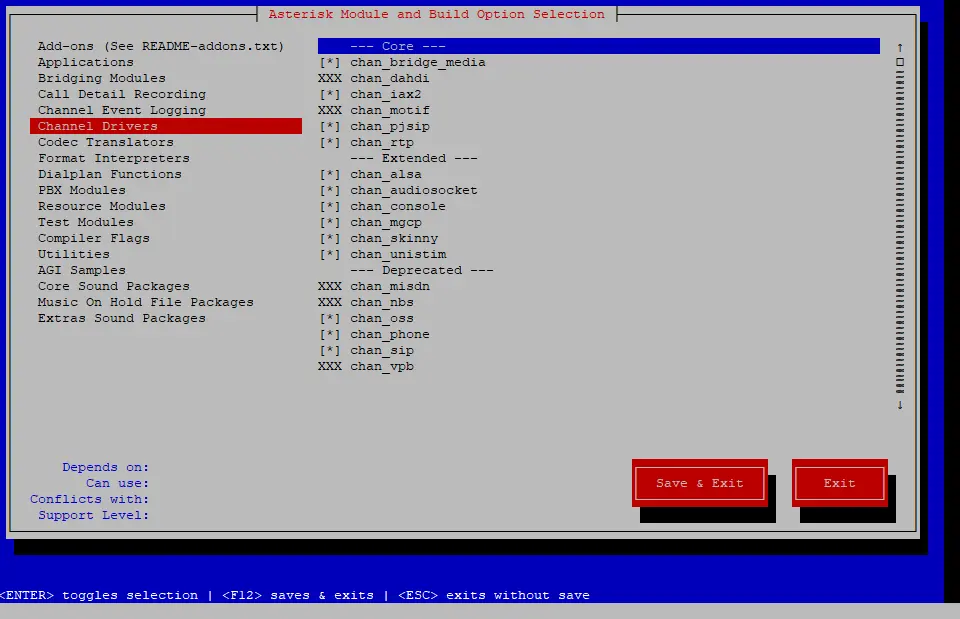
make menuselectEnable or disable modules as needed (e.g., enable
res_config_odbc,res_odbc,chan_pjsip,app_voicemail). You can also select different audios and codecs if you like.
 Compile and install:
make && make install
make samples
make config
ldconfig
Set file permissions:
chown -R asterisk:asterisk /var/{lib,log,spool}/asterisk /etc/asteriskEnable Asterisk to run under its own user:
sed -i 's/^#\(AST_USER="asterisk"\)/\1/' /etc/default/asterisk
sed -i 's/^#\(AST_GROUP="asterisk"\)/\1/' /etc/default/asterisk
sed -i 's/^;\(runuser = asterisk\)/\1/' /etc/asterisk/asterisk.conf
sed -i 's/^;\(rungroup = asterisk\)/\1/' /etc/asterisk/asterisk.conf
Enable and Start Asterisk:
systemctl enable asterisk
systemctl start asterisk
asterisk -rvvvvvvvvvvvvvvvvvvv
You'll see asterisk CLI on your screen now.
CONGRATULATIONS! You have successfully installed Asterisk 20!
3. Setup MariaDB
Installing Mariadb and dependencies:
apt install -y unixodbc odbcinst mariadb-client mariadb-server odbc-mariadb
systemctl enable mariadb
systemctl start mariadb
(Optional) Secure your DB:
mysql_secure_installationCreate the asterisk DB and user:
mysql -u root CREATE DATABASE asterisk;
CREATE USER 'asterisk'@'localhost' IDENTIFIED BY 'asterisk';
GRANT ALL PRIVILEGES ON asterisk.* TO 'asterisk'@'localhost' IDENTIFIED BY 'asterisk';
FLUSH PRIVILEGES;
exit;4. Create Asterisk Real-Time Schema
cd /usr/src/asterisk-20*/contrib/ast-db-manage
cp config.ini.sample config.ini
nano config.ini
Change the following line:
sqlalchemy.url = mysql://user:pass@localhost/asterisk
with:
sqlalchemy.url = mysql://asterisk:asterisk@localhost/asteriskThe Creation of the tables for Asterisk Real-Time is done using alembic. So Lets install alembic and its dependencies:
apt install python3-pip -y
pip install mysql-connector-python
pip install alembic
pip install mysqlclient
pip install "importlib_metadata==1.5.2"
pip install "zipp==1.2.0"
pip install "configparser==3.8.1"
Installing some package might throw environment error. You can skip those error by adding
--break-system-packagesafter those commands.
Create/Update the tables with the following command:
cd /usr/src/asterisk-20*/contrib/ast-db-manage
alembic -c config.ini upgrade head
Verify tables:
Login to mysql cli:
mysql -u root run these command:
USE asterisk;
SHOW TABLES;
You should get similar response:
+-----------------------------+
| Tables_in_asterisk          |
+-----------------------------+
| alembic_version_config      |
| extensions                  |
| iaxfriends                  |
| meetme                      |
| musiconhold                 |
| musiconhold_entry           |
| ps_aors                     |
| ps_asterisk_publications    |
| ps_auths                    |
| ps_contacts                 |
| ps_domain_aliases           |
| ps_endpoint_id_ips          |
| ps_endpoints                |
| ps_globals                  |
| ps_inbound_publications     |
| ps_outbound_publishes       |
| ps_registrations            |
| ps_resource_list            |
| ps_subscription_persistence |
| ps_systems                  |
| ps_transports               |
| queue_members               |
| queue_rules                 |
| queues                      |
| sippeers                    |
| voicemail                   |
+-----------------------------+
26 rows in set (0.00 sec)
5. Configure ODBC
Lets proceed to the configuration of ODBC and Asterisk so that Real-Time works properly.
Open /etc/odbc.ini in any editor and add:
[asterisk]
Description = MySQL Asterisk
Driver = MariaDB Unicode
Database = asterisk
Server = localhost
User = asterisk
Password = asterisk
Port = 3306
Socket = /var/run/mysqld/mysqld.sock
Open /etc/odbcinst.ini in any editor and add:
[MariaDB Unicode]
Driver=libmaodbc.so
Description=MariaDB Connector/ODBC(Unicode)
Threading=0
UsageCount=1
Verify ODBC connection:
isql asterisk asterisk asteriskyou should see something like this:
+---------------------------------------+
| Connected!                            |
|                                       |
| sql-statement                         |
| help [tablename]                      |
| quit                                  |
|                                       |
+---------------------------------------+
6. Asterisk Configuration for Real-Time
Open /etc/asterisk/res_odbc.conf in any editor and update [asterisk] section to this:
[asterisk]
enabled => yes
dsn => asterisk
username => asterisk
password => asterisk
pre-connect => yes
sanitysql => select 1
max_connections => 20
connect_timeout => 5
negative_connection_cache => 600
Open /etc/asterisk/extconfig.conf in any editor and add below content at end:
ps_endpoints => odbc,asterisk
ps_auths => odbc,asterisk
ps_aors => odbc,asterisk
ps_domain_aliases => odbc,asterisk
ps_endpoint_id_ips => odbc,asterisk
ps_contacts => odbc,asterisk
voicemail => odbc,asterisk
queues => odbc,asterisk
queue_members => odbc,asterisk
sipusers => odbc,asterisk
sippeers => odbc,asterisk
extensions => odbc,asterisk
Now, Lets configure the Asterisk file, pjsip.conf
Open /etc/asterisk/pjsip.conf in any editor and add:
[system]
type=system
timer_t1=500
timer_b=32000
disable_tcp_switch=yes

[transport-tcp]
type=transport
protocol=tcp
bind=0.0.0.0:5060
allow_reload=yes

[transport-udp]
type=transport
protocol=udp
bind=0.0.0.0:5060
allow_reload=yes

[transport-tls]
type=transport
protocol=tls
bind=0.0.0.0:5061
allow_reload=yes
verify_client=no
verify_server=no
method=tlsv1

[transport-ws]
type=transport
protocol=ws
bind=0.0.0.0:5060
allow_reload=yes

[transport-wss]
type=transport
protocol=wss
bind=0.0.0.0:5061
allow_reload=yes
Make sure to change these settings in pjsip.conf according to your requirement.
Open /etc/asterisk/sorcery.conf in any editor and add:
[res_pjsip]
endpoint=realtime,ps_endpoints
auth=realtime,ps_auths
aor=realtime,ps_aors
domain_alias=realtime,ps_domain_aliases

[res_pjsip_endpoint_identifier_ip]
identify=realtime,ps_endpoint_id_ips
Open /etc/asterisk/modules.conf in any editor and make sure below modules are enabled:
[modules]
autoload=yes
preload => res_odbc.so
preload => res_config_odbc.so
load => func_realtime.so
load => pbx_realtime.so
7. Restart Asterisk & Validate
systemctl restart asterisk
asterisk -rvvvvvvvvvvvv
At the CLI:
odbc showyou should get response like:
ODBC DSN Settings
-----------------
  Name:   asterisk
  DSN:    asterisk
    Number of active connections: 1 (out of 20)
    Logging: Disabled